My complaint with premium folding phones has always been that if you’re going to pay for the brand’s most expensive phone, you should also be getting all the brand’s fanciest features. Finally, with the Samsung Galaxy Z Fold 8 Ultra, Samsung has answered my pleas.
The upgrade to last year’s Z Fold 7 is that it now has the same cameras as the excellent Galaxy S26 Ultra, so now users don’t have to compromise on cameras when choosing to fold or not to fold. This also explains the change in naming convention to add the ‘Ultra’ to the end of this line, even if it’s a little confusing with the launch of a new folding phone getting the Fold 8 name.
Of course, with a name change and significant camera spec bump comes a price hike, and the Z Fold 8 Ultra is now $100 more expensive at launch than the Z Fold 7 was. But what isn’t more expensive in 2026?
Now that I’ve spent a week with Samsung’s new folding phones, I’m certain that this is Samsung’s best and most advanced folding phone ever, but it’s not for everyone.
Table of contents
- First impressions
- Specifications and price
- Screens
- Gaming and entertainment
- Cameras
- Who is the Samsung Galaxy Z Fold 8 Ultra for?
First impressions
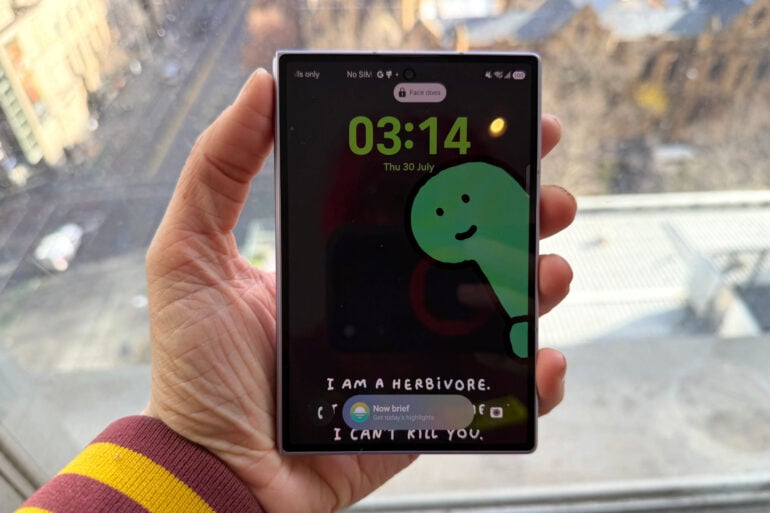
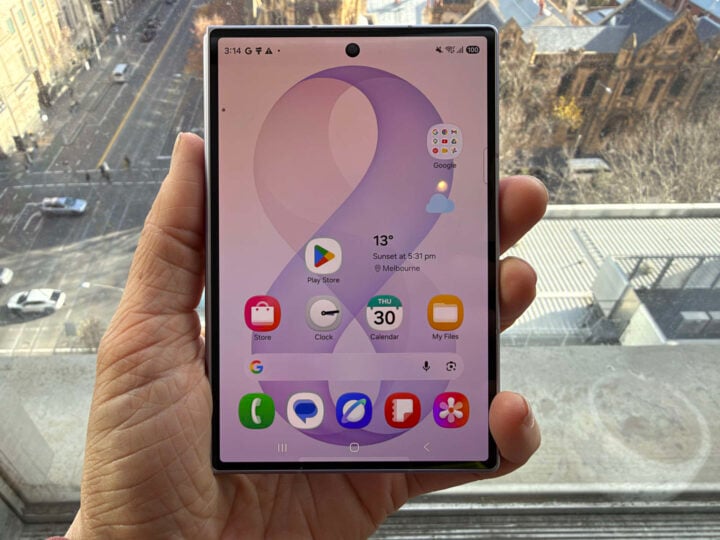
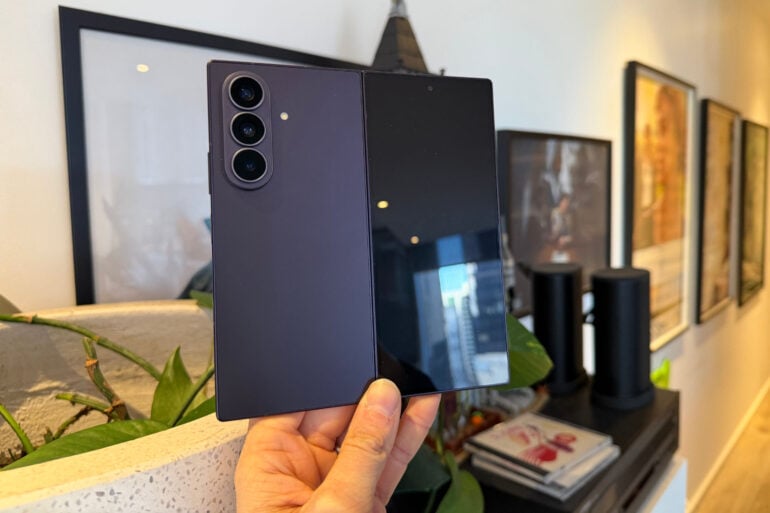
The first thing I noticed about the Fold 8 Ultra is that it seems so much thinner and sleeker than the Fold 7. That’s odd, because according to my colleague John Davidson’s callipers, it’s actually ever-so-slightly thicker. But there’s something about the design that’s more polished.
What I loved about the Fold 7 was how much it felt like just holding a regular phone when it was folded, and the Fold 8 Ultra carries that forward. It makes it so easy to use it like a regular phone most of the time, and then open it up when you need the big screen. It’s taken it from being a gimmick to a genuinely useful everyday tool.
The next thing I noticed was how much less pressure it takes to open the hinge. Before, opening the phone up took concentrated effort. It wasn’t the worst, but it was quite noticeable. Now, with less pressure required, it feels more like something you could do reflexively whenever, rather than something to think about. I previously also found that heavier hinge a bit unnerving, because I was subconsciously worried something was wrong. The more gentle hinge feels more natural.
Setup was smooth using the Samsung Smart Switch app to move all my apps and data over.
Samsung Galaxy Z Fold 8 Ultra specifications & price
| Main display size | 203.1mm (8.0″ full rectangle) / 202.4mm (8.0″ rounded corners) |
| Front display size | 164.8mm (6.5″ full rectangle) / 164.1mm (6.5″ rounded corners) |
| Max refresh rate (main display) | 120 Hz |
| Cameras | Rear: 200 MP wide-angle + 50 MP ultra-wide + 10 MP telephoto Front: 10MP |
| Processor | Snapdragon 8 Elite Gen 5 for Galaxy |
| Storage and memory | 256GB + 12GB 512GB + 12GB 1TB + 16GB |
| Battery | 5,000mAh silicon-carbon |
| Software | One UI 9 (based on Android 17) Seven years of OS updates and security updates |
| Price | $2,999 (256GB + 12GB) $3,299 (512GB + 12GB) $3,899 (1TB + 16GB) |
| Warranty | 2 years in addition to your Australian consumer law rights |
| Official website | Samsung Australia |
The big headline here is the upgraded cameras. Previously, Samsung’s most premium folding phone had a camera array that was a significant downgrade from the less expensive S25 Ultra range.
Now, the most premium folding phone has the same cameras as the most premium ‘candy bar’ phone, so people only have to decide on form factor, rather than what they’re willing to give up.
It’s also worth pointing out that the Galaxy Z Fold 8 Ultra uses a new silicon-carbon battery. The 5,000mAh capacity isn’t as big as some foldables, like the Motorola Razr Fold or Honor Magic V6, but the new technology should mean more recharge cycles before degrading.
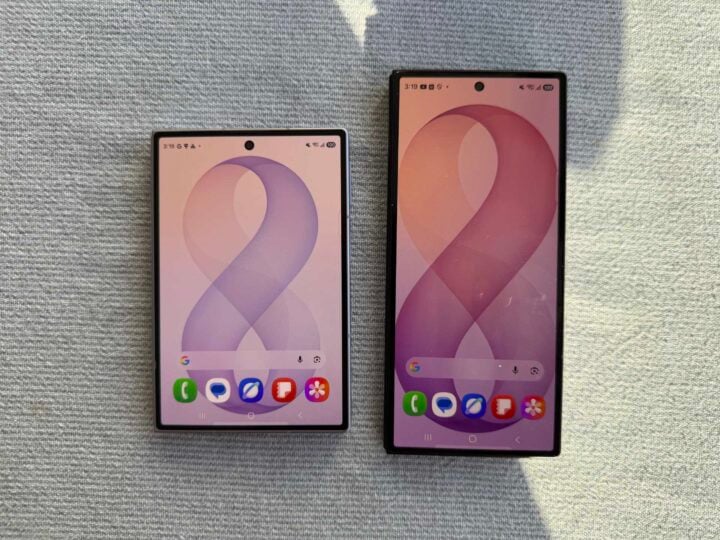
Screens
I am still annoyed by the weird aspect ratios of the Fold 8 Ultra range. They have annoyed me since 2019, and you’d think either app makers or I would have adjusted to it by now. But no. The front screen should have the same aspect ratio as a regular candy bar phone, and I will die on this hill.
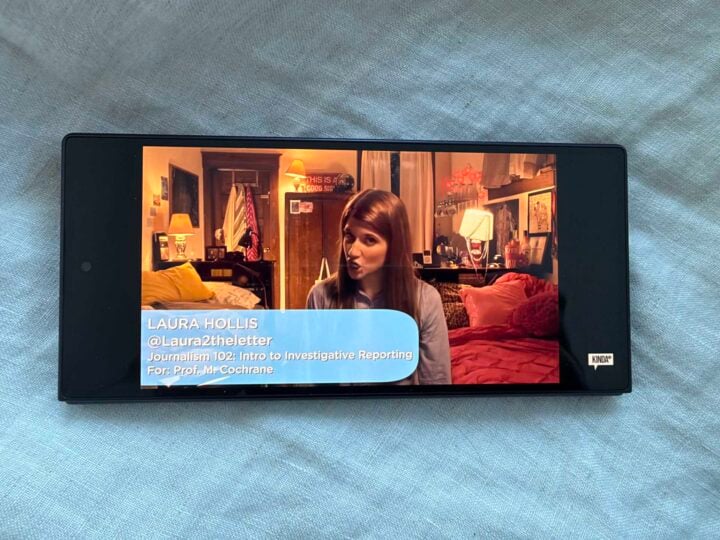

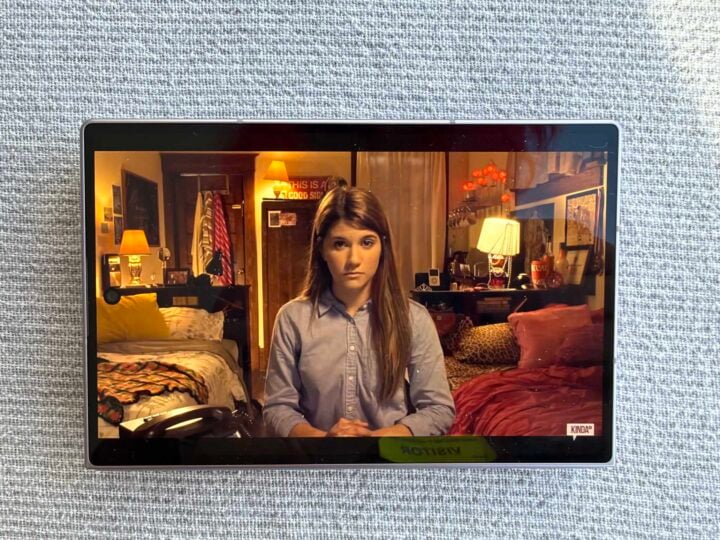
But I can’t deny that this 3,000-nit bright screen is absolutely gorgeous. The reduction in crease thanks to the new titanium layer makes the screen much more usable in both portrait and landscape. For some reason, it means I feel more comfortable multitasking on it.
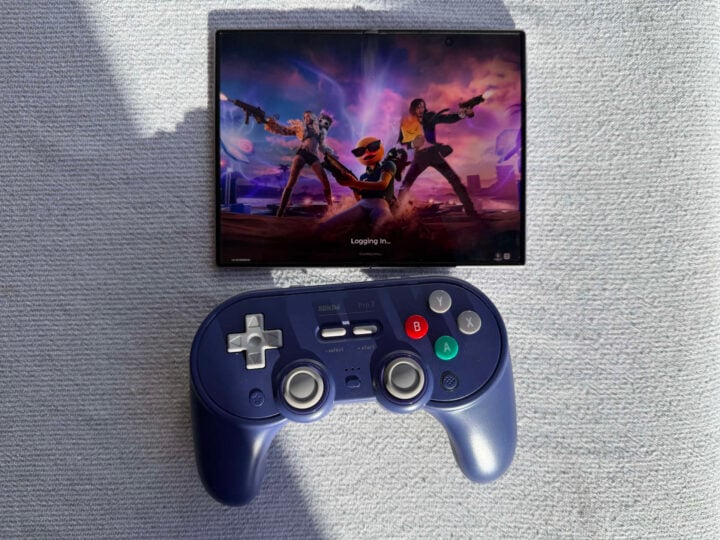
I am a chronic multitasker, and it’s been so nice to have my Fortnite Droid Tycoon game on one half of the screen, my pro and con spreadsheet for an upcoming purchase in the top-left corner, and the droid guide in the top-right. Because why do one thing well, when I can do two things kinda okay?
The phone’s thinness also means that I’m using the front screen more than I would have before. This is because it now feels just like a normal phone (aspect ratio aside) with a secret identity. The hand comfort is also a lot better when it’s folded because the very thin phone body can be a little sharp and non-ergonomic when unfolded.
All up, I love these screens.
Gaming and entertainment
While the Samsung Galaxy Z Fold 8 Ultra doesn’t have my favourite aspect ratios, it is a brilliant phone not just for multitasking and productivity maxxing, but also downtime. It’s got the power, and it also seems to have slightly better cooling than the vanilla Z Fold 8. I could play Fortnite for a couple of hours before it got too hot for the graphics to stay on high settings.
| Device | Geekbench 6 CPU Single-Core | Geekbench 6 CPU Multi-core | Geekbench 6 GPU |
| Samsung Galaxy Z Fold 8 Ultra | 3,712 | 11,513 | 25,049 |
| Samsung Galaxy S26 Ultra | 3,770 | 11,422 | 23,805 |
| Samsung Galaxy Z Fold 8 | 3,573 | 10,314 | 24,707 |
| iPhone 17 Pro Max | 3,768 | 9,443 | 45,451 |
| Motorola Razr Fold | 2,617 | 9,177 | 17,754 |
| Samsung Galaxy Z Fold 7 | 2,663 | 8,586 | 19,567 |
| Honor Magic V6 (Performance mode) | 3,604 | 8,132 | 23,208 |
| Samsung Galaxy Z Flip 7 | 2,375 | 8,038 | 19,121 |
| Honor Magic V6 (Balanced mode) | 1,582 | 6,013 | 16,057 |
| Google Pixel 9 Pro Fold | 1,949 | 4,698 | N/A |
Now, granted, it is winter, and my apartment is perpetually freezing, which is likely helping the cooling, but the Z Fold 8 was tested in the same (freezing) conditions.
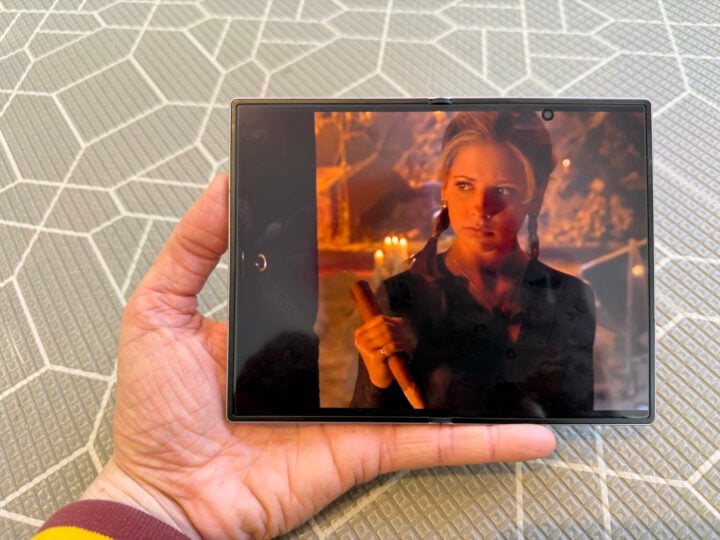
The larger inner screen is perfect for games that support the aspect ratio. I particularly love playing Xbox Game Cloud games on it with a controller, because it has all that extra space.

Watching movies and TV shows on the inner screen remains a bit weird. All that empty space surrounding a 16:9 movie is enough to feel wasted, but not quite enough to put an extra app in without making the movie window smaller. Still, it’s nice to have such a large screen.
Reading books on the inner screen semi-folded makes it feel more like a real book experience when I turn the page, and I enjoy the novelty.
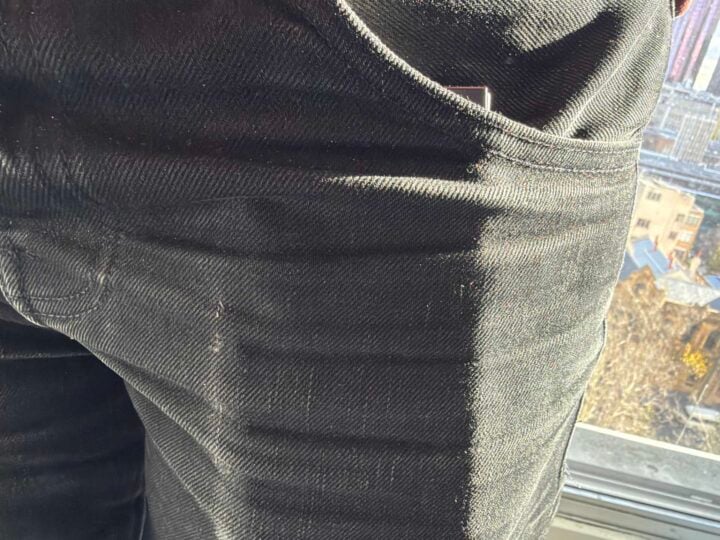
The only problem is that, like the Fold 8, it’s too thin when unfolded to comfortably hold for long periods of time without either cutting into my hand or making my thumbs feel weird. I’m sure it’s something I’ll adjust to, but it’s something to keep in mind for people with arthritis or other hand issues.
Also, the Fold 8 Ultra’s edges stab me in the pelvis whenever I sit down with the phone in my pocket. And I wear men’s jeans with relatively deep pockets. Like, not as deep pockets as Oni jeans, but Nudie Jeans’ pockets are hardly shallow.
Cameras
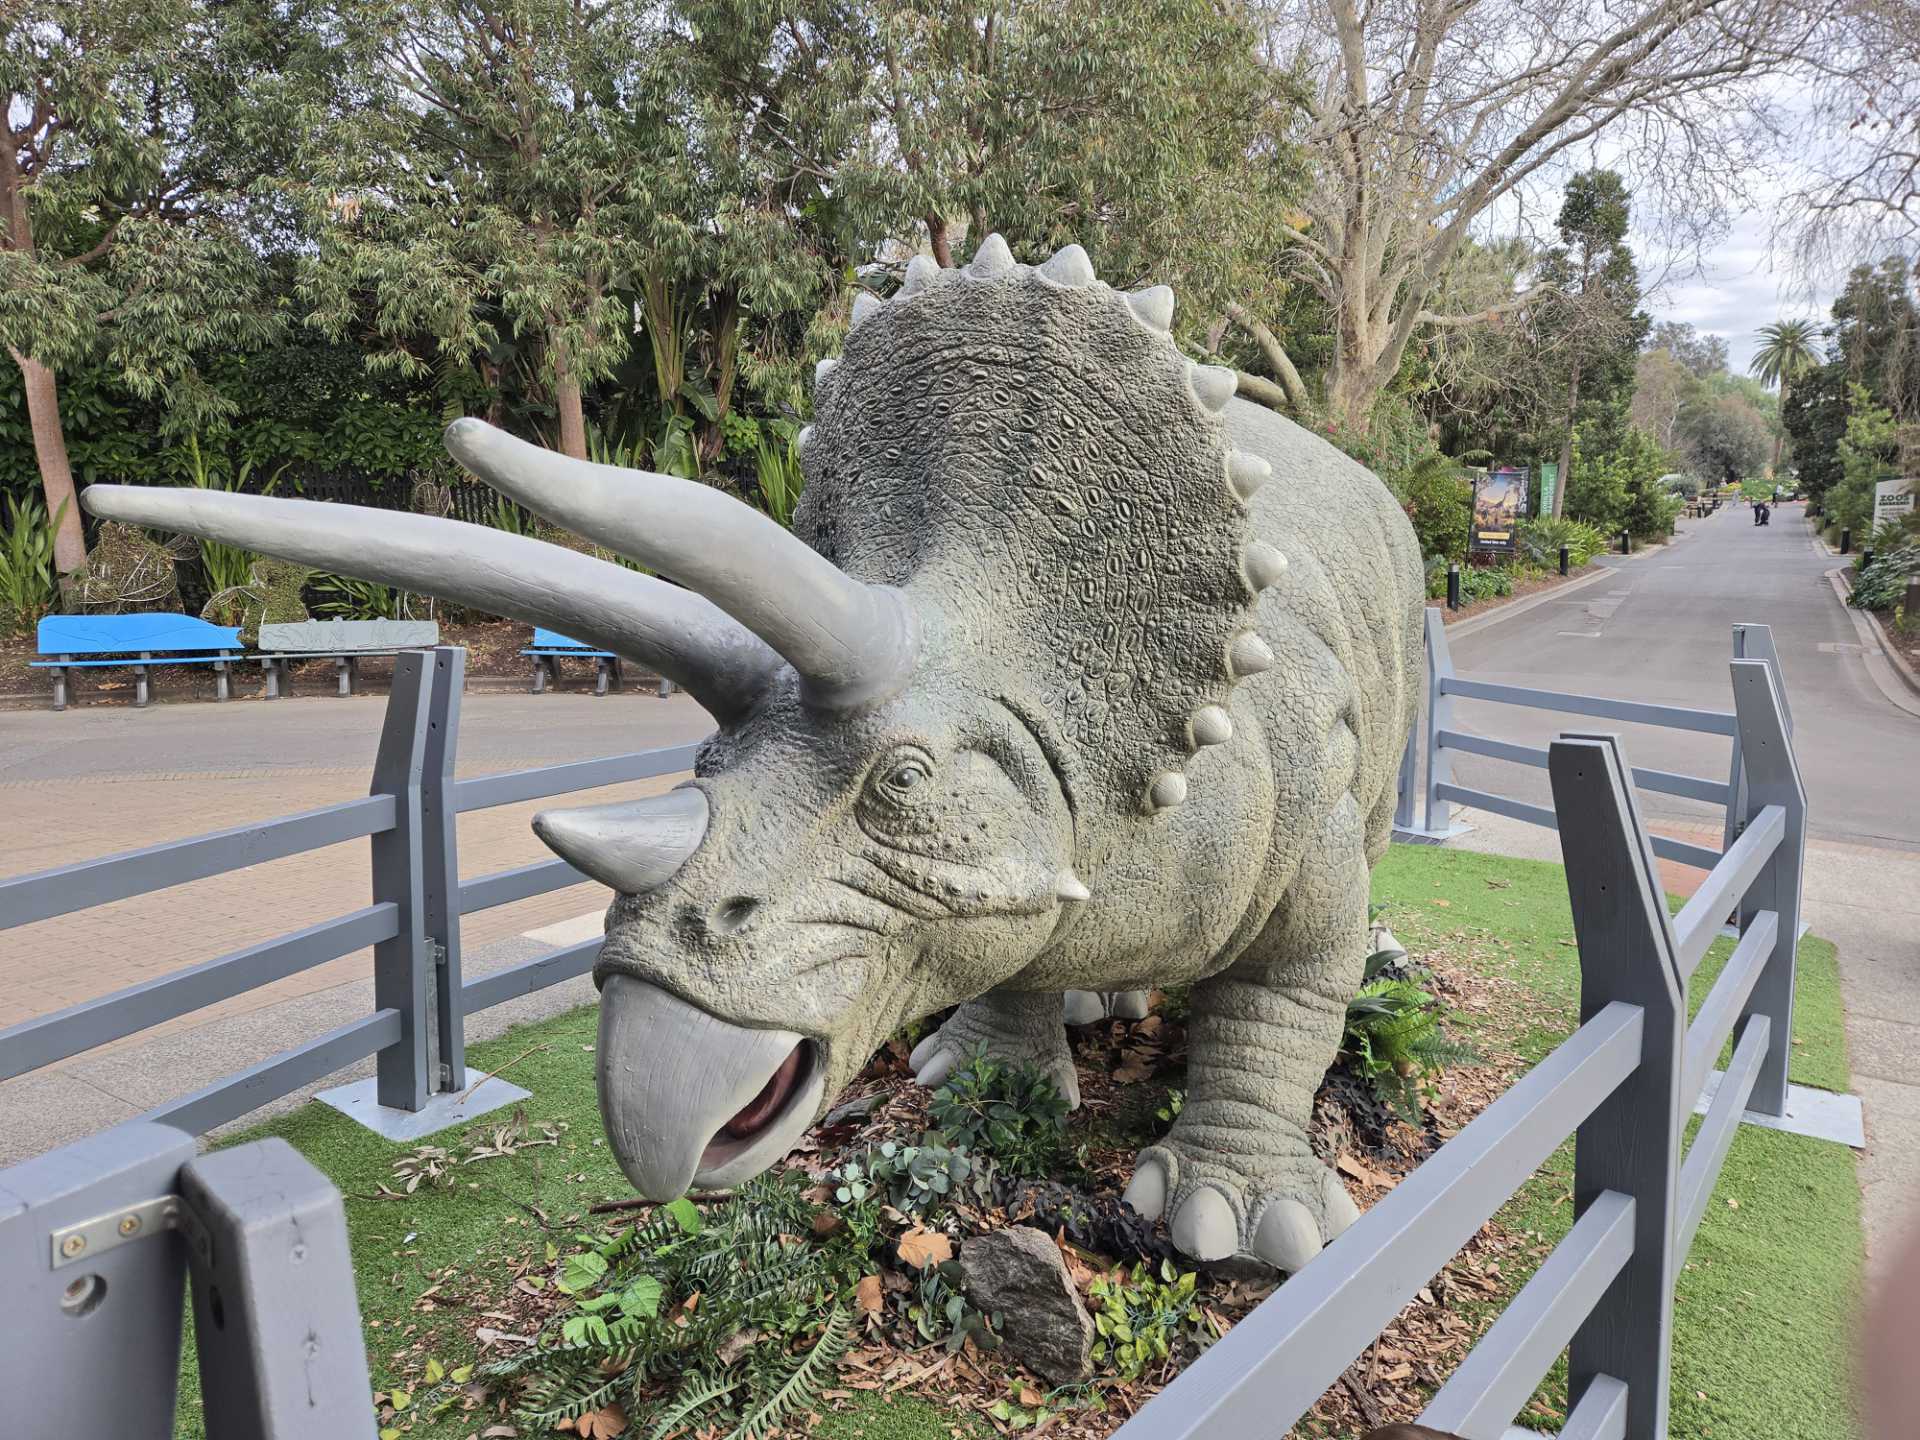
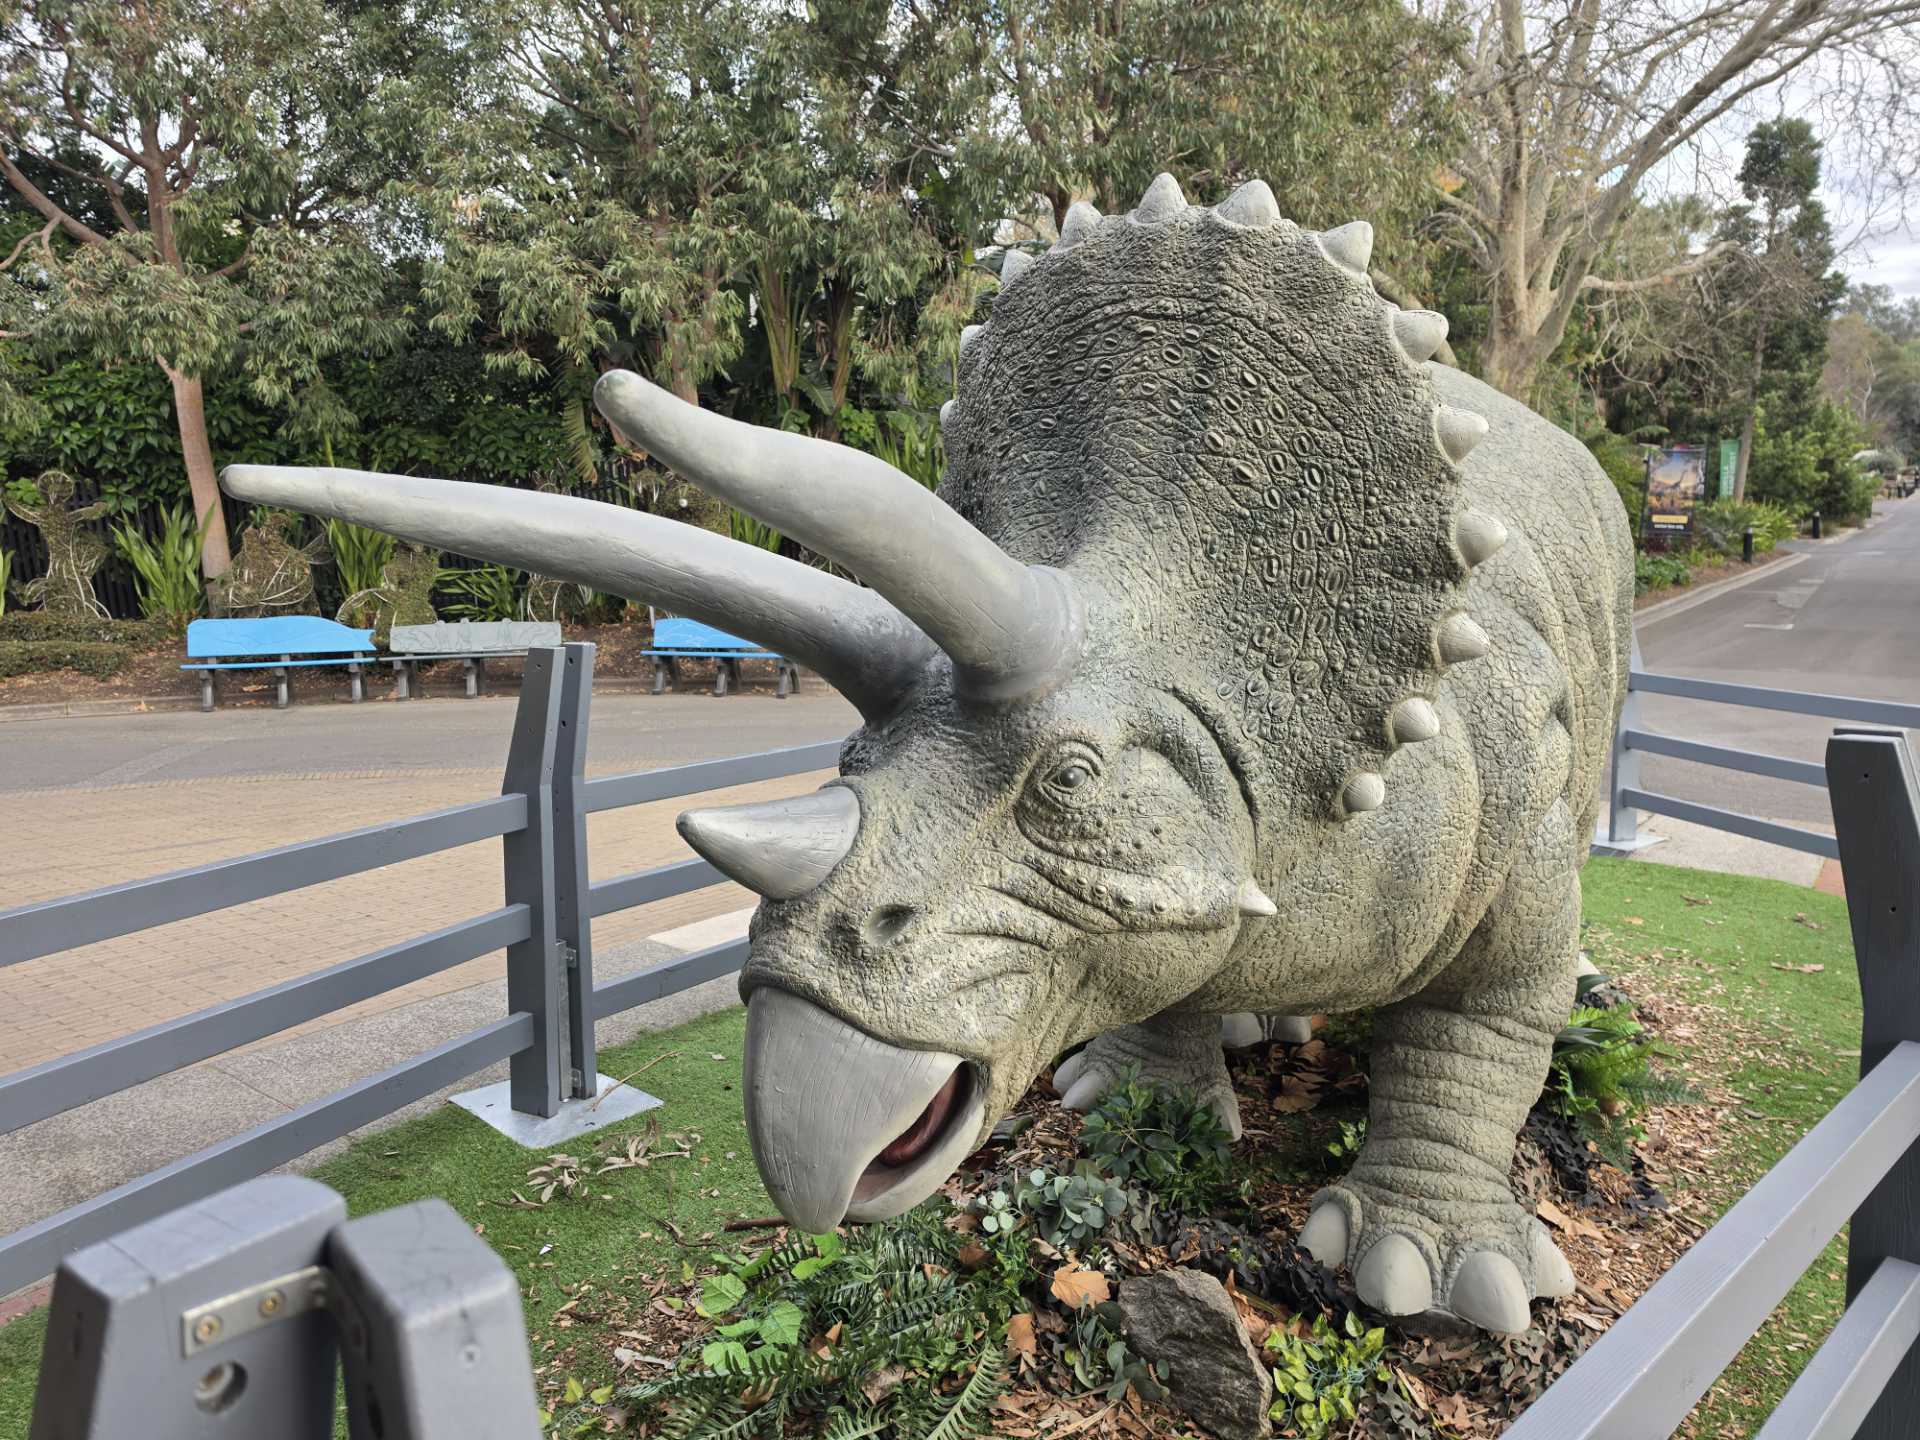
The cameras are the big headline of the Fold 8 Ultra, because they address my biggest complaint about the Fold range. I have always asserted that users shouldn’t have to choose between the best and biggest screen, and the best cameras. Most people choose their phone on price, cameras and size in that order. Now that the Z Fold 8 Ultra has the same camera array as the Samsung Galaxy S26 Ultra (which I really enjoyed when I reviewed it upon release), the choice is easier for users who were previously on the fence.


As you can see from these galleries, these cameras are excellent. Of course, it comes down to personal preference, and I’m still annoyed by how noisy the suggested extra zoom options are. But have a scroll through the galleries, compare, and see what you like best.


From a reviewing standpoint, the cameras were as easy to use and customise as you’d expect (though these photos were taken on default settings for demonstration purposes). I didn’t use any of the generative AI options on these photos, firstly because they go against everything I want when taking a photograph, but also because I wanted you to see the unedited results. What you do with your photos after you take them is up to you.


Who is the Samsung Galaxy Z Fold 8 Ultra for?
Having tried the vast majority of folding phones released in Australia over the last seven years, I can confidently say that this is the best and most feature-packed folding phone available. I also don’t think everyone needs this kitchen sink of folding phones.
The Samsung Galaxy Z Fold 8 Ultra is for people who want a phone that will allow them to multitask multiple apps on a large screen, and have the large pockets (and budget) to accommodate it. It’s got the best of everything, and most users aren’t ever going to get close to taking advantage of all its excellent features.
While the regular Z Fold 8 is for people who want a solid and entertaining phone, this is for productivity maxxers, gamers who want to be able to play bigger games on the go, and professional content creators.
GadgetGuy occasionally uses affiliate links and may receive a small commission from purchased products.
The post Samsung Galaxy Z Fold 8 Ultra review: Ultra Cameras, Ultra Price appeared first on GadgetGuy.